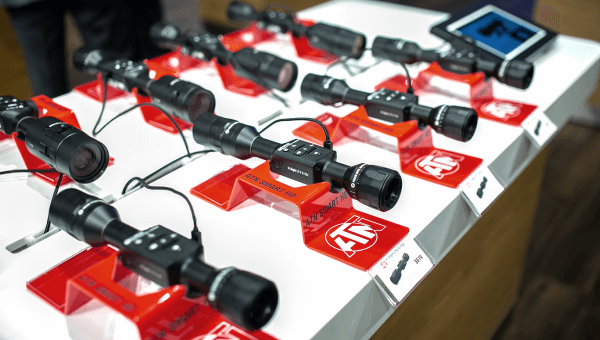
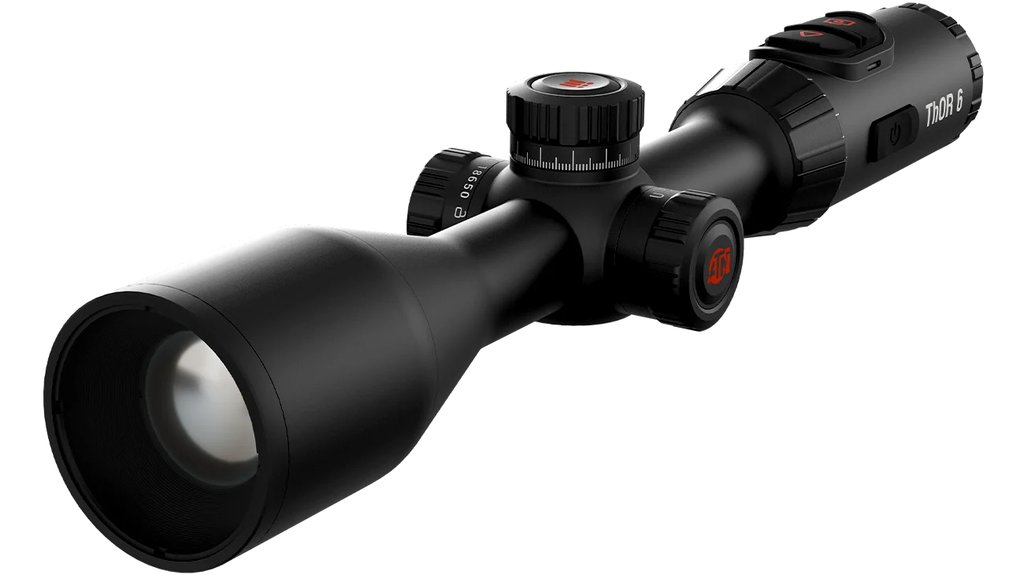
Learning how to sight in a thermal scope is the one step that turns a thermal scope from an expensive gadget into a tool you can trust. It is not hard, but it has to be done right, and doing it in the dark for the first time is easier when you know the order of operations. This guide walks you through it plainly, using the ThOR 6 Mini from ATN's current 6th-generation thermal scopes as the example. Take your time on the first try and it becomes a five-minute job after that.
What you need before you start
- Your thermal scope — the ThOR 6 Mini in this example, fully charged with a spare battery on hand.
- A solid rest — bags, a bipod or a vice. The steadier the rifle, the faster the zero.
- A target with heat contrast — a hand-warmer taped to the bull, foil, or a target that reads clearly in thermal.
- A known distance — 50 or 100 yards, measured, not guessed.
- Ammunition — at least a box of the exact load you will hunt with.
- Hearing and eye protection and a calm, safe range.
How to sight in your thermal scope, step by step
- Mount it solid and level. Fit the ThOR 6 Mini in quality rings on a Picatinny rail, set your eye relief, and torque the rings evenly. A loose mount is the number-one reason a zero wanders. Success looks like zero movement when you push on the optic.
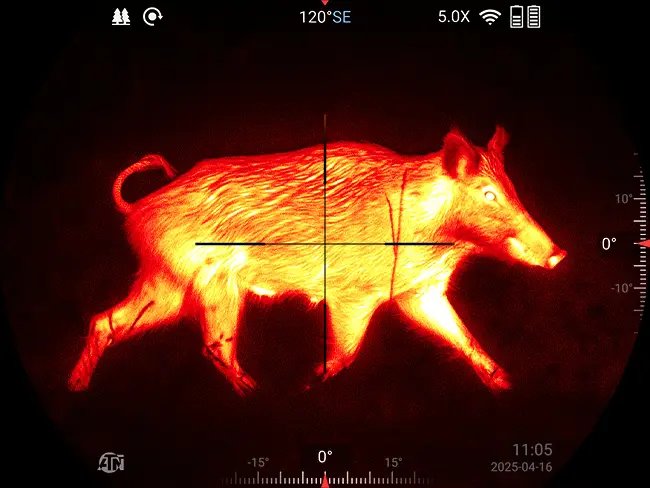
- Set your target and distance. Put a heat-contrast target at a measured 50 or 100 yards. Confirm it reads as a clear, bright aim point through the optic before you load.
- Get on paper close first. If you are unsure, start at 25 yards so your first shots land on the target. Fire one careful shot from a dead-steady rest.
- Fire a small group. Send three rounds with the same point of aim, breathing and trigger press. Three shots show where the rifle really hits, not where one flier went.
- Find the centre of your group. Note where the group sits relative to your aim point. That gap is exactly what you are about to correct.
- Enter the zeroing screen. On the ThOR 6 Mini, open the zeroing menu. Keep the reticle on your original aim point and move the on-screen marker to the centre of your group.
- Use Zeroing Freeze. The freeze feature holds the image so you can adjust precisely without a second hand on the gun. Confirm the reticle now matches your point of impact, and save.
- Confirm with a fresh group. Fire three more rounds. They should now land on your aim point. Fine-tune once if needed, then move out to your full zero distance and re-check.
Tips and common mistakes
- Do not chase single shots. Always adjust off a group of three; one shot lies.
- Let the barrel cool between groups so heat mirage and point-of-impact shift do not fool you.
- Double-check ring torque after the first few rounds of recoil.
- Match your zero to your hunting — a 100-yard zero suits most predator work; pick what fits your shots.
- Write down your zero and save the profile so you can confirm it, not rebuild it, next season.
How the ThOR 6 Mini makes zeroing easier
The ThOR 6 Mini is built to make this quick. Zeroing Freeze locks the picture the instant you fire, so you move the reticle onto your impact without wrestling the rifle. SharpIR keeps the target crisp, a 50 Hz refresh rate, so a running animal stays smooth instead of smearing into a blur, and the saved profile means your zero is one menu tap away every time you head out. It is the difference between a fiddly afternoon and a two-shot job.
How this how-to was put together
This is an in-house, plain-English walkthrough from ATN, not an independent lab test, and every step is written around the current 6th-generation line rather than older gear. We kept it to the process that works on a real range with a real thermal scope: mount, group, adjust, freeze, confirm. It is not the pick for someone who wants a one-click gimmick — a good zero rewards a steady rest and a little patience, and that is honest.
Frequently Asked Questions
How many shots does it take to sight in the ThOR 6 Mini?
With Zeroing Freeze you can get a usable zero in one or two shots, but plan on a few groups of three to confirm it holds. Always verify with a fresh group after you save.
What distance should I zero a thermal scope at?
Fifty to one hundred yards suits most hunting. A 100-yard zero is a solid all-round choice for predator and hog work; pick the distance that matches the shots you actually take.
Do I need a special target for thermal?
You need heat contrast. A hand-warmer taped to the bull, foil, or a purpose-made thermal target all read clearly. A plain paper target with no temperature difference is hard to see through thermal.
Can I sight it in during the day?
Yes. Thermal reads heat, not light, so daylight is fine and often easier for handling the rifle. Just make sure your target still shows a clear temperature difference.
Will the zero hold if I take the scope off?
Return-to-zero depends on your mount. A quality mount and even ring torque help a lot, and saving the zero profile lets you confirm quickly. Always re-check after remounting.
Why do my shots move between groups?
Usually a loose mount, a hot barrel, or inconsistent form. Re-torque the rings, let the barrel cool, and focus on the same aim point and trigger press every shot.
That is all there is to it. Get the ThOR 6 Mini zeroed once and it is ready every night after. Explore the full range of ATN thermal scopes to find the model that fits your rifle and your hunting, and spend your range time building confidence rather than fighting your gear.
Created: July 14, 2026 · 14:41:55 UTC