If you searched how to make a thermal scope, you were probably hoping to bolt a cheap sensor onto your rifle and skip the price of a finished optic. Here is the straight answer from someone who has spent nights in the field: you cannot realistically build a hunting-grade thermal scope at home, and trying will cost you more in wasted parts and missed shots than buying one that works. Below is what a real build actually involves, why it falls apart, and the setup that does the job the day it arrives — the ATN ThOR 6 640x512 3-24x.
What you need to actually build one
To make a thermal scope from scratch you would need to source and integrate the following, and every item has to survive rifle recoil while holding a precise zero:
- A thermal core (microbolometer) — the heat-sensing sensor itself. Uncooled cores are export-controlled, expensive, and useless without factory calibration. The ThOR 6's core reads down to ≤15 mK, meaning it separates targets that differ by a fraction of a degree.
- Germanium optics — ordinary glass blocks infrared, so the lens must be ground germanium. A raw 50 mm germanium blank alone runs into serious money and needs precision mounting.
- A display and processor — a raw sensor outputs data, not a usable picture. You need a board that applies image processing, a stable OLED, and a reticle that stays put.
- Recoil-proof zero retention — the hardest part. A DIY mount that shifts a hair per shot makes the whole thing useless for shooting.
- Power and weatherproofing — regulated battery power and a sealed, fog-proof housing so it works in dew, rain and cold.
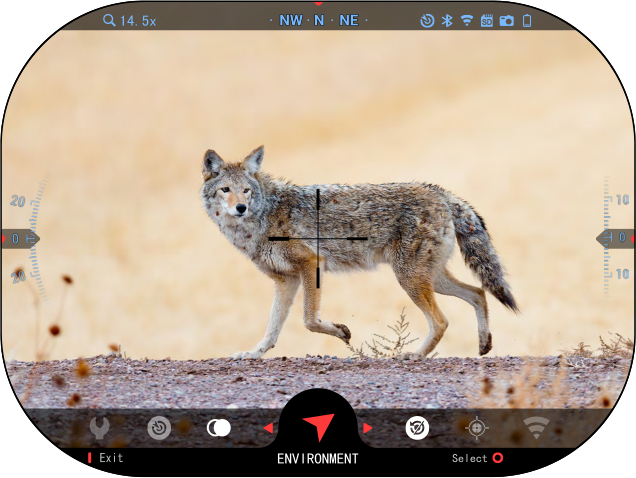
The build process, step by step (and where it breaks)
- Source a calibrated core. Success looks like a live thermal feed with even, non-blotchy contrast. In reality most hobby cores arrive uncalibrated and show a washed-out image you cannot trust on an animal.
- Pair a germanium lens to the core. Success is a sharp edge on a warm body at 100 yards. Off-the-shelf infrared lenses rarely match the sensor's focal plane, so you get a soft, unusable picture.
- Wire the display and processor. Success is a clean picture with a crisp reticle. Without factory image processing you get lag, noise and a floating aim point.
- Build a recoil-proof mount and housing. Success is the reticle landing on the same spot after ten shots. This is where nearly every DIY build dies — the zero walks and you can no longer place a shot.
- Zero and field-test. Success is repeatable hits in the dark. If any earlier step wobbled, you find out the hard way with a wounded animal or a clean miss.
Tips and common mistakes
- Don't confuse a webcam or phone add-on with a scope. Clip-on phone thermal cameras have no rifle-grade zero and shift on recoil — fine for scanning, not for shooting.
- Don't underestimate calibration. The single biggest reason home builds fail is an uncalibrated core that shows heat but not usable contrast.
- Don't ignore recoil. A mount that holds under bench conditions can walk under live fire; a factory unit like the ThOR 6 uses Recoil Activated Video and hardened zero retention for exactly this.
- Don't spend blind. Add up a core, germanium glass, a display board and a housing and you are usually past the price of a finished, warrantied scope that already works.
The setup that actually works: ATN ThOR 6 640x512 3-24x
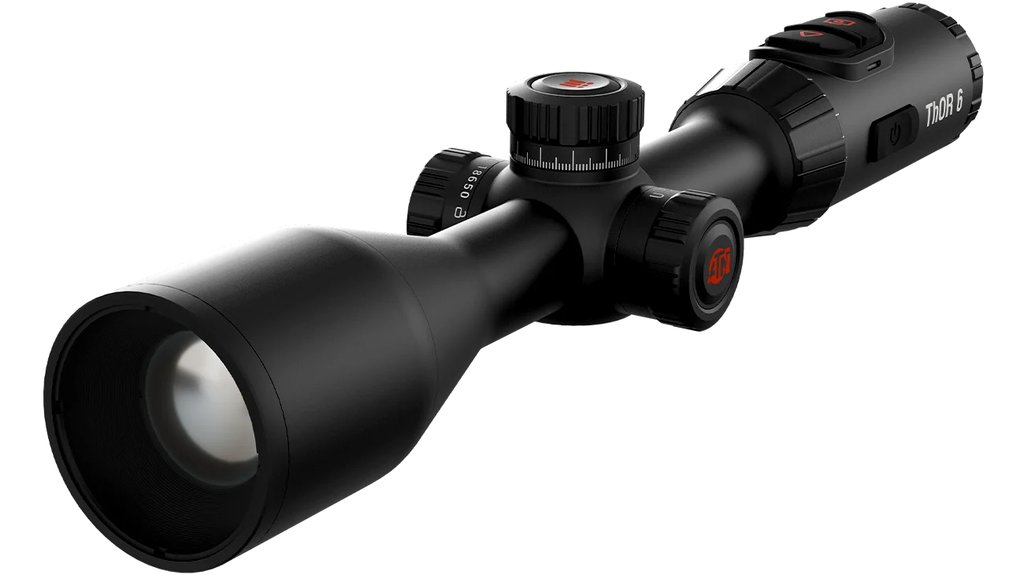
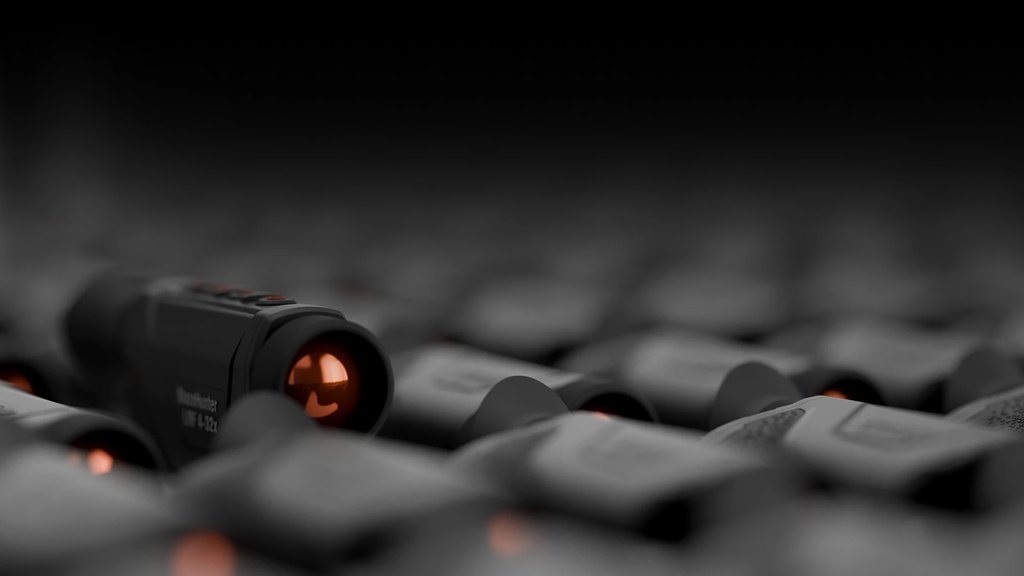
Instead of building one, mount the ATN ThOR 6 640x512 3-24x and start hunting the same night. Its 640x512 core is a dense grid of heat-reading dots — the jump from a low-res sensor to this is like going from standard definition to HD, and it lets you tell a hog from a stump out past where a home build would show mush. The 3-24x magnification covers a close treeline out to a long field lane, SharpIR sharpening cleans up the picture, and Recoil Activated Video plus Zeroing Freeze keep your point of impact honest shot after shot. It is part of ATN's thermal scope lineup. This is for the hunter who wants a scope that works out of the box; it is not for someone whose real goal is the electronics project itself.
How we tested this
This is an in-house look at ATN's current 6th-gen ThOR 6 line, not an independent lab review. We judged the DIY question against what a real hunter needs after dark: a core sensitive enough (NETD in the ≤15 mK range) to hold contrast on a cool morning, a resolution high enough to identify not just spot a target, detection range that matches how far you actually shoot, a refresh rate smooth enough to track a moving hog, and a mount that keeps zero under recoil. Measured against those, a home build loses on every count. The honest trade-off with a factory ThOR 6 is that it is a premium optic, not a bargain-bin part — but it works the first night and every night after. Check the specs against your own ranges before you buy.
Frequently Asked Questions
Can you really make a thermal scope at home?
Not one that holds a rifle zero and identifies game. You can wire a thermal core to a display and see heat, but calibration, germanium optics and recoil-proof zero retention are what make a scope usable for shooting, and those are extremely hard to achieve outside a factory. Most home builds end up as scanning novelties, not aiming devices.
Is it cheaper to build a thermal scope than to buy one?
Almost never. Once you add a calibrated core, a germanium lens, a display and processor board, and a recoil-proof housing, the parts cost typically meets or beats a finished optic — and you still have no warranty or support. A factory unit like the ATN ThOR 6 works out of the box.
Why can't I just use a regular camera lens?
Ordinary glass blocks the long-wave infrared that thermal sensors read. Thermal optics use ground germanium lenses, which are costly and must be matched precisely to the sensor's focal plane. A mismatched or non-germanium lens gives you a soft, unusable image.
What makes the ATN ThOR 6 a real answer to this?
The ThOR 6 640x512 3-24x ships as a fully calibrated, sealed thermal scope with a high-resolution core, germanium optics, Recoil Activated Video and hardened zero retention. It solves every problem a home build cannot — clean contrast, a stable reticle and a zero that survives recoil — so you can hunt the night it arrives.
What is NETD and why does it matter for a build?
NETD is the smallest temperature difference the sensor can detect, measured in millikelvin; lower is better. The ThOR 6's ≤15 mK rating means it separates a warm animal from cool background clearly. A cheap uncalibrated home core often can't hold this contrast, which is why DIY images look washed out.
Will a home-built scope hold zero on a rifle?
This is the hardest part to get right and the usual point of failure. Recoil walks a poorly built mount, so your aim point drifts shot to shot. Factory scopes like the ThOR 6 use engineered zero retention and Zeroing Freeze specifically to keep point of impact locked.
Skip the soldering iron and the wasted parts. If your real goal is spotting and taking game in the dark, the ATN ThOR 6 640x512 3-24x gives you a calibrated high-resolution core, recoil-proof zero and a picture you can trust the first night out. Have a look at the full ATN ThOR thermal scope range to match a magnification and lens to the distances you actually hunt. It is the honest shortcut to everything a home build is trying to become — without the guesswork, the export headaches or the ruined zero.
Created: August 5, 2026 · 19:53:43 UTC